Connecting to your AI client
The final step is to connect the Cirra AI MCP Server to your AI client.
Choose your preferred client below for specific instructions.
- Claude AI
- Claude Desktop
- ChatGPT
- OpenAI Codex
- VS Code
- Cursor
- Cline
- Other
Claude AI (Web)
-
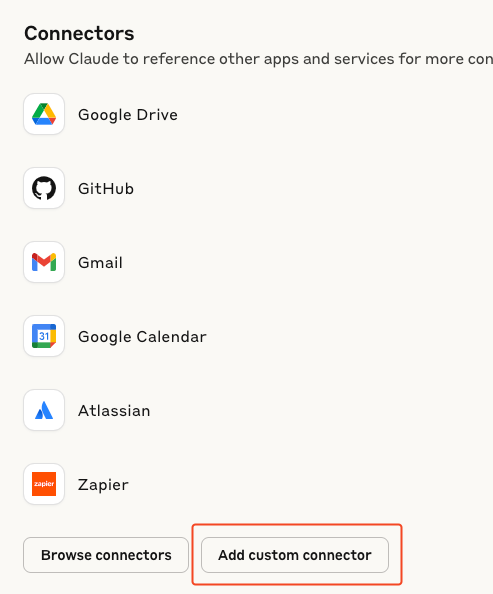
Open the "Connectors" settings
Navigate to https://claude.ai/settings/connectors
-
Click "Add custom connector"
-
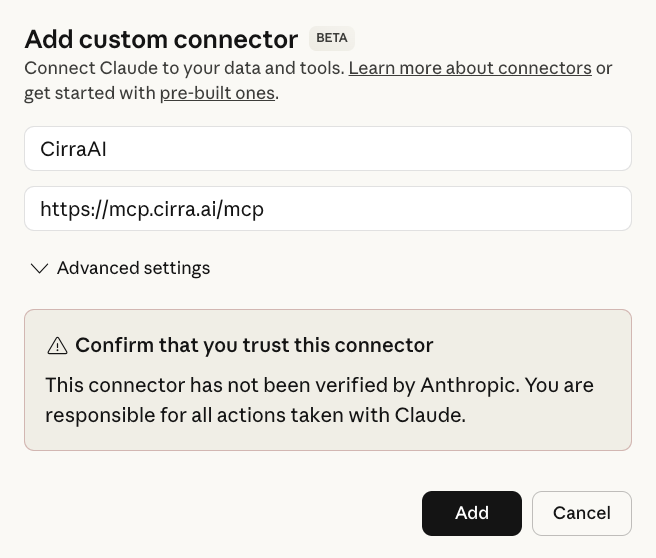
Enter the following details:
- Name: Cirra AI
- Remote MCP Server URL: https://mcp.cirra.ai/mcp
Then click Add
-
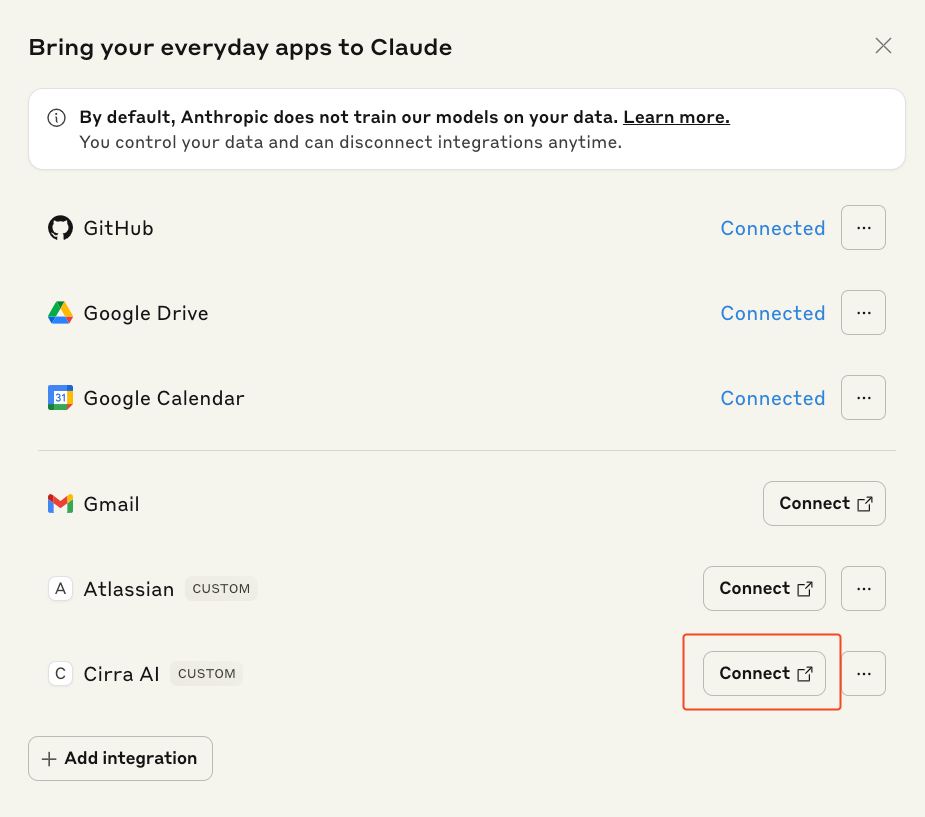
Click Connect to connect Claude to the Cirra AI MCP server
Claude Desktop
-
Open Claude Desktop Settings
- On macOS: Claude → Settings
- On Windows: File → Settings
-
Navigate to the Connectors section
-
Click "Add custom connector"
-
Enter the following details:
- Name: Cirra AI
- Remote MCP Server URL: https://mcp.cirra.ai/mcp
Then click Add
-
Click Connect to authorize Claude to connect to the Cirra AI MCP server
You may need to restart Claude Desktop for the connector to appear
ChatGPT
Cirra AI is listed in the ChatGPT app catalog, so connecting it takes just a few clicks.
-
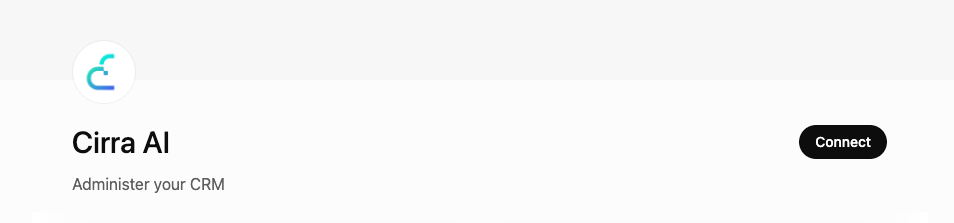
Open the Cirra AI app listing
Click here to open the listing on the web.
Alternatively:
-
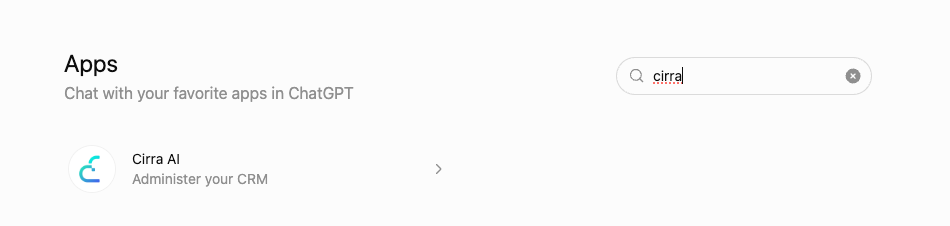
ChatGPT on the web: Go to https://chatgpt.com/apps and search for Cirra AI.
-
ChatGPT desktop app: open Settings, click Apps in the left sidebar, then click Browse apps and search for Cirra AI.
-
-
Connect
On the Cirra AI app page, click Connect.
-
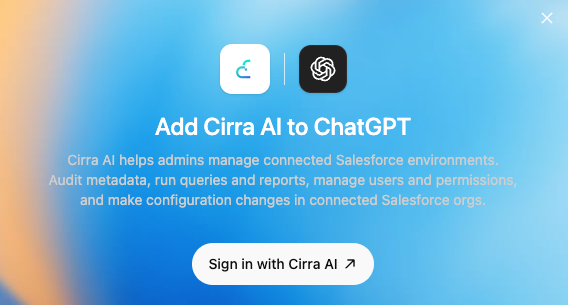
Sign in with Cirra AI
In the dialog that appears, click Sign in with Cirra AI, then complete the sign-in and click Allow Access to authorize ChatGPT (see Access rights and security for what this grants).
OpenAI Codex
-
Open OpenAI Codex MCP Servers tab
Open OpenAI Codex and navigate to Settings → MCP servers.
-
Add the Cirra AI MCP Server
-
Click Add MCP server
-
Select Streamable HTTP as the transport type
-
Enter the following details:
-
Name:
Cirra AI -
URL:
https://mcp.cirra.ai/mcp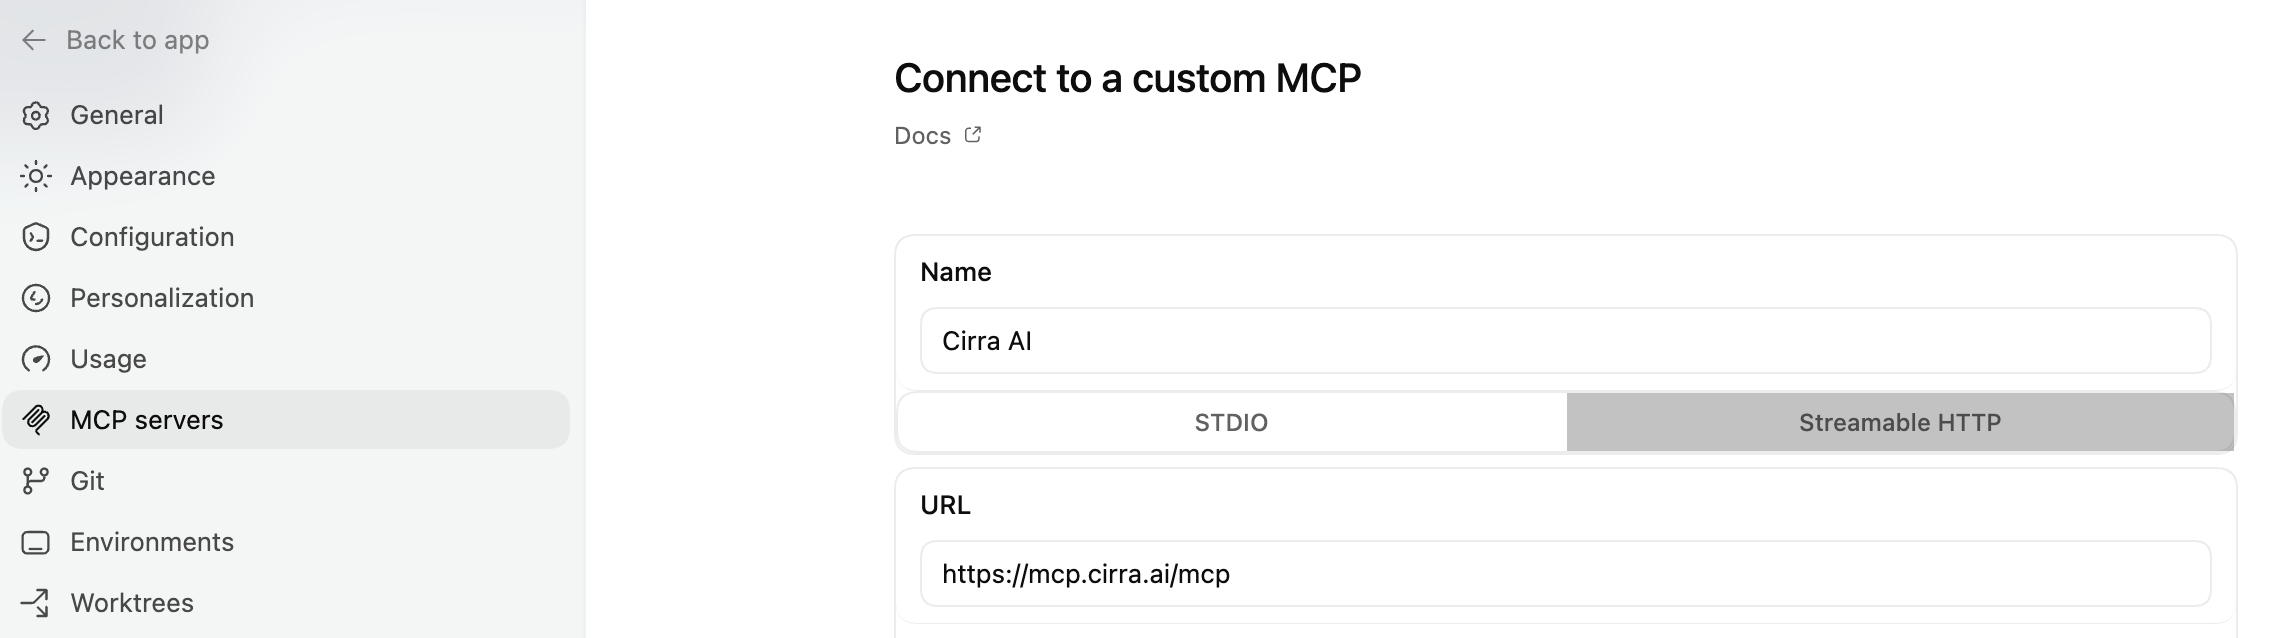
-
-
Click Save to add the server
-
VS Code
MCP servers in VS Code require access to GitHub Copilot.
Learn about the use of MCP servers in VS Code here.
To add the Cirra AI MCP server:
-
Click here to add the Cirra AI MCP Server to VS Code
-
Click Open Visual Studio Code
-
You should see the installation screen
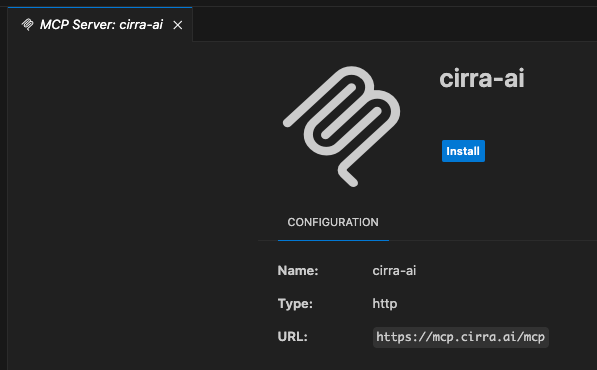
-
Click Install This should open an "Authenticating" dialog in the bottom right corner of the IDE
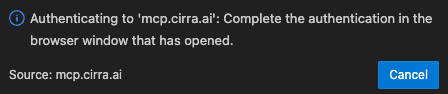
-
If the authentication page does not appear in your browser after a few seconds, click Cancel
In the "URL Handler" dialog that appears, click Yes
-
Click Open to open the authorization page in your web browser
If the automated installation link does not work, or your situation is more custom, follow the steps under Add an MCP server in the VS Code doc.
- If you use the MCP: Add Server command from the Command Palette the data to enter is:
- Type:
HTTP(or "Add from another application" if you have already configured Cursor or Claude Desktop) - URL: https://mcp.cirra.ai/mcp
- Server ID:
cirra-ai
- Type:
- Alternatively, if you create an
mcp.jsonfile in your wokspace or user config, use the following configuration:"cirra-ai": {
"type": "http",
"url": "https://mcp.cirra.ai/mcp"
}
Then follow the authentication steps shown above.
You may need to restart VSCode or click Restart in the setup page.
Cursor
A Cursor subscription is required to use MCP servers.
Click the button below to add the MCP Server to Cursor:


If that does not work refer to the instructions here.
-
You will need to add the Cirra AI server configuration to
mcp.json. There are two possible locations for this file:- Project Configuration
Create the file in
.cursor/mcp.jsonin your project - Global Configuration
Create the file in
~/.cursor/mcp.jsonin your home directory
- Project Configuration
Create the file in
-
The server configuration for Cirra AI is:
  "cirra-ai": {
    "url": "https://mcp.cirra.ai/mcp",
  }
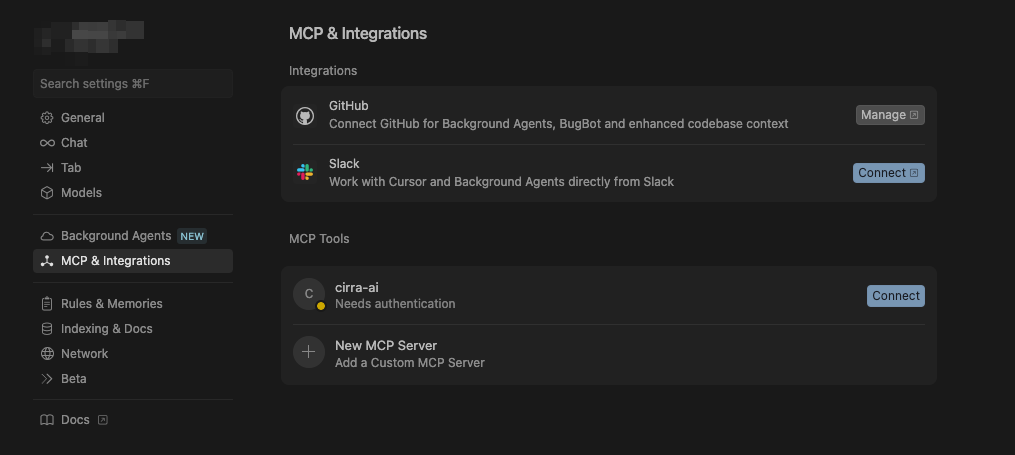
To finish the connection, open the Cursor settings and click Connect next to the Cirra AI server
Cline
-
Open the Remote Servers tab
In Cline, navigate to the Remote Servers tab (also called MCP Servers depending on your version).
-
Add the Cirra AI MCP Server
- Enter the server URL:
https://mcp.cirra.ai/mcp - Select Streamable HTTP as the transport type
- Enter the server URL:
-
Authenticate
After adding the server, you will see an error message with an Authenticate button. Click it to open the sign-in page in your browser.
-
Sign in using your Cirra AI account and you will be automatically redirected back to Cline.
Other MCP Clients
For other MCP-compatible clients that support OAuth:
General Configuration
- Server URL:
https://mcp.cirra.ai/mcp - Protocol: HTTP/MCP
- Authentication: OAuth (using your Cirra AI credentials)
Setup Steps
- Sign up for a Cirra AI account if you haven't already at https://cirra.ai/free-trial
- Check your client's MCP documentation for specific setup instructions
- Add the Cirra AI MCP server using the URL above
- Test the connection to ensure it's working
After connecting the MCP Server to your AI client, you should see an authorization request in a new tab in your browser (it may be hidden behind other windows if authorizing from an IDE or desktop app).
-
Click "Allow Access" to authorize the connection
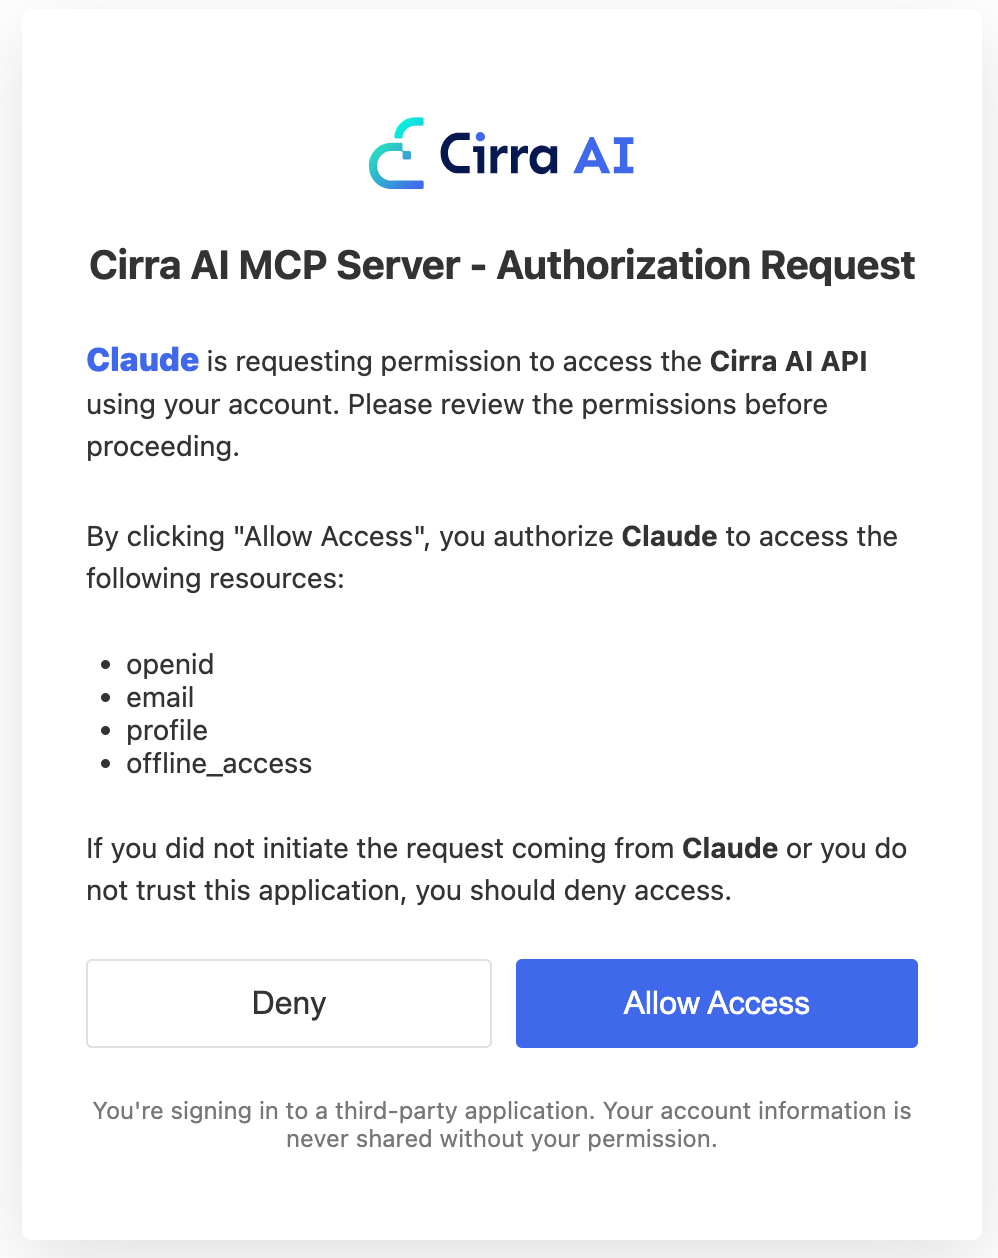
-
Then log in using your Cirra AI account (see Setting Up if you do not have one yet)
After succesful login you will be redirected back to your AI client, or in some cases you may see a confirmation dialog.
The final step is to verify your setup
We recommend installing the Cirra AI skills to get the most out of the MCP server. Skills are free to use and significantly improve the quality and consistency of AI-generated Salesforce work.
Need Help?
If your client isn't listed or you need assistance, please check our support documentation for ways to get in touch with us.